A timeless, unique and special Christmas decoration. We chose classic Christmas colors to create this pattern, but of course your color choice is limited only by your imagination! We hope you enjoy making it as much as we did.

-
1. You’ll need a 200 x 200 mm / 8x8 inch hoop for this. Place the water soluble foil in the hoop, and then the hoop into the machine. Make sure the foil is tight and wrinkle-free. (We worked on SOLVY 80 water-soluble foil.)

-
2. The machine will mark the location/position of the green material.

-
3. Place the green material on the BACK of the foil. Secure this with adhesive tape at the top and bottom.


-
4. Put it back in the machine. You can see the green material at the bottom of the foil; we fixed this with adhesive tape.

-
5. Put the green material on the TOP of the foil (we fixed this with a stabilizer first).

-
6. Continue embroidering, sewing the lower green material together with the foil and the upper green material.

-
7. Now remove the frame from the machine and carefully cut around the resulting leaves on both sides of the frame.

-
8. Continue embroidering, now with red thread, marking the location of the flower.


-
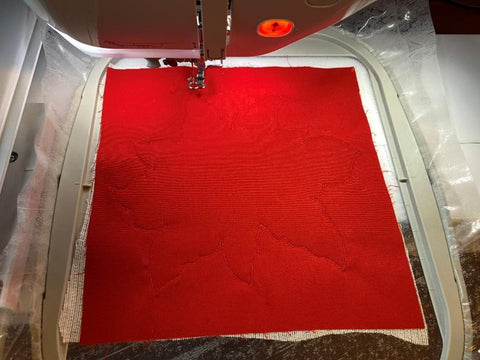
9. Apply the red fabric (fixed with stabilizer) to the foil, and continue embroidering.

-
10. Remove the frame from the machine and carefully cut the flower around the red embroidery.


-
11. Put the frame back in the machine and continue embroidering with the red thread, then with the gold and light-green thread. The embroidery is finished!

-
12. Remove the frame from the machine and tear the finished flower out of the foil along the lines of the embroidery.

-
13. Done! Merry Christmas!


If you liked our blog post, feel free to add your comment below.


